

Seen what's new in Lightroom Classic 11.4. This big update includes much-wanted additions to AI Masks, plus great new preset features and some other welcome new features.

When you're working with the Adjustment Brush in Adobe Lightroom Classic, you'll find that the how you've set the feather, flow, and density controls for the brush will make a huge difference in your editing.

Complete Portrait Editing Start to Finish
Step-by-Step portrait editing including blemish removal, wrinkle reduction, skin smoothing, enhancing eyes and whitening teeth for natural looking portraits.

When to Use Vibrance vs Saturation
The Vibrance and Saturation sliders are probably two of the most often used color adjustments in Lightroom. How you use them and what the difference is, is key so you know how making changes will affect the colors in your photo.

Best Export Settings for Print and Web
If you're new to Lightroom, you may be wondering how to save your edited photos for printing or sharing on the web. What you actually do is export your Lightroom photos using specific export settings for either print or web. In this new Lightroom Classic tutorial, I'll walk you through all the steps and show you the best export settings to use for print and for sharing on the web, such as for uploading to Facebook.

Masks are super useful tools in Lightroom. Basically, a mask lets you tell Lightroom what areas of a photo get specific edits or adjustments. This tutorial explains what masks are, Auto Masks, Invert Mask, and luminance and color Range Masks
Auto Mask, Color and Luminance Range Mask Tips & Tricks
When you just want to make changes such as exposure, saturation, clarity and other adjustments to specific areas of your image, you'll find the Adjustment Brush is a powerful tool.
How to Make Selective Edits Using the Adjustment Brush
When you just want to make changes such as exposure, saturation, clarity and other adjustments to specific areas of your image, you'll find the Adjustment Brush is a powerful too.

Fix Perspective with Guided Upright
Setting vertical and horizontal guides to get better perspective correction.
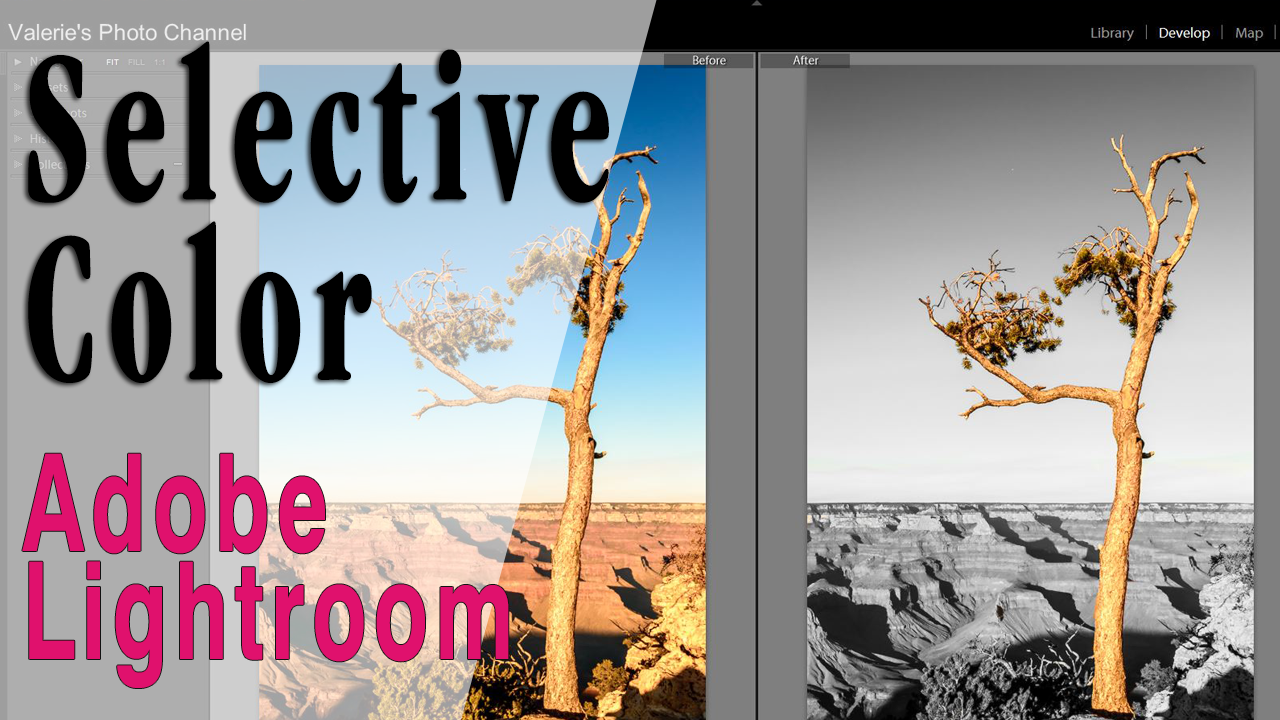
We'll convert an image to black and white and then bring back the color in selective areas. It's fun and easy to do.
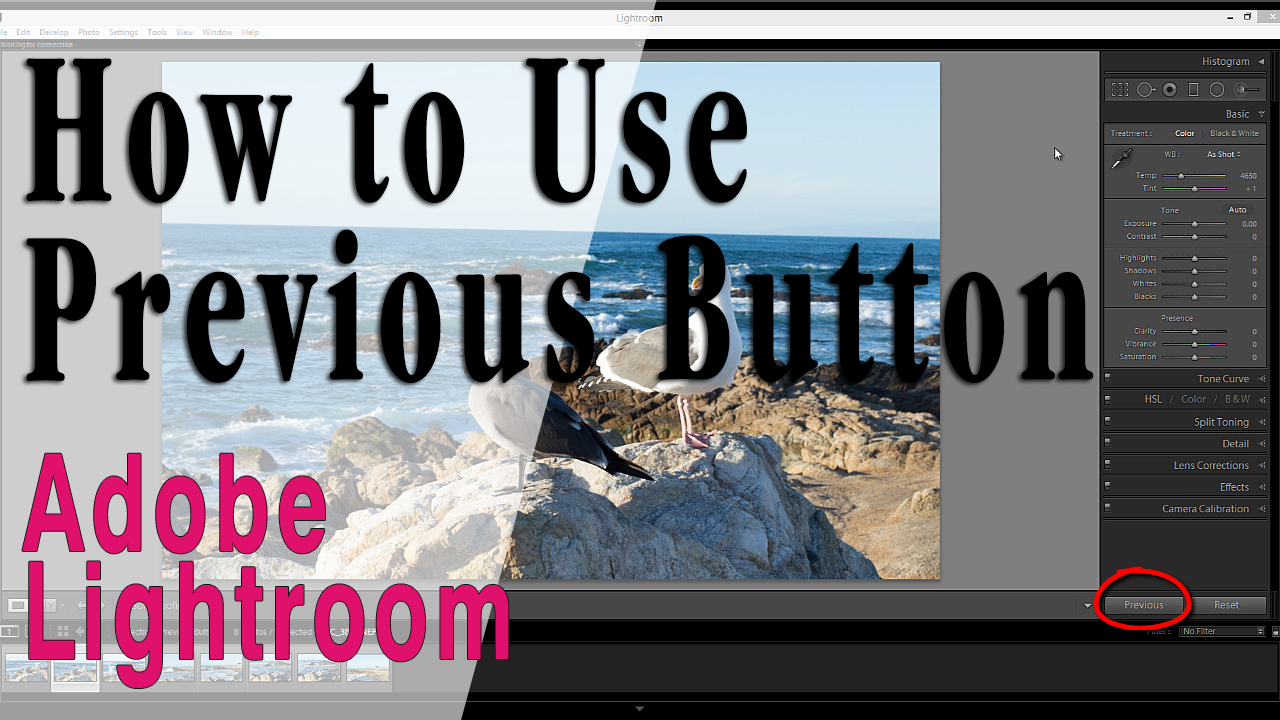
Copying Develop Settings Using the Previous Button
The previous button us a fast way to copy settings from the last image you worked on to a new image.
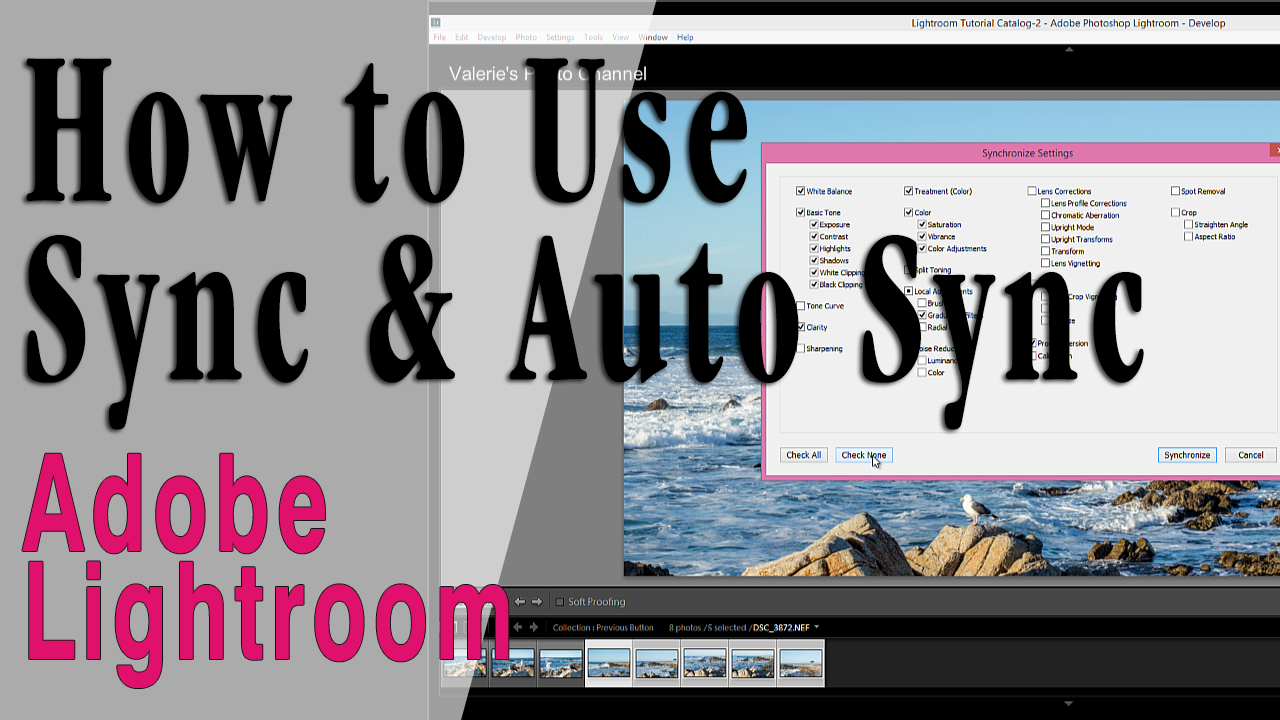
Using Sync and Auto Sync to Copy Adjustments onto Multiple Photos
Learn how to use Sync and Auto Sync to speed up your workflow, and when to use them.
2 thoughts on “Develop Module Tutorials – Part 2”
Valerie, Do you offer a tutorial on the Adjustment Brush?
Hi Mark, Here’s one on skin smoothing using the adjustment brush https://valeriegoettsch.com/lightroom-tutorials/retouching-portraits/lightroom-skin-softening-tutorial-skin-smoothing-brush/ Was there something specific you were looking for?