Sometimes you just want to get it done. Most of us want to spend more time taking photos than sitting at our computer editing them. Or maybe you enjoy the editing process but sometimes…maybe often…you just don’t have tons of time to spend. That’s where Batch Processing comes in handy. Not only is it super easy to do, it’s a great way to save editing time in Lightroom.
Batch processing, or batch editing, simply means that if you have multiple images that were shot under similar lighting conditions and exposure, you can adjust one image and have the same adjustments copied and pasted to the other images. Lightroom does all the work for you. You may still need to make some local adjustments or crop some images, but most of your editing will be done. Just recently I used batch processing to quickly edit a group of photos I took in Carmel and it sure saved me time.
There are three main ways you can batch edit:
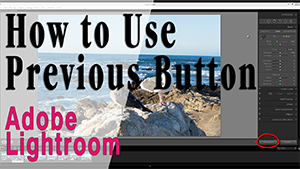
- The Previous Button – Edit an image and then select another image and hit the Previous button to apply the exact same adjustments. Learn more
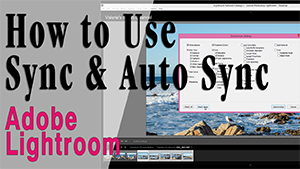
- The Sync Settings Button – Make your edits on an image, then select additional images and hit the Sync button. You’ll get a dialog box where you can select which adjustment settings you want to apply. Learn more
- Use Auto Sync to take it a step further and automatically apply the same adjustments to a group of selected images simultaneously as you edit the first image. Learn more
View Tutorials
I’ve got two new video tutorials that explains in detail how these buttons work and when best to use them. Just click on the images below to go straight to the tutorials.
 |
 |
Do you have any tips for quickly editing your photos? Share them below.


