
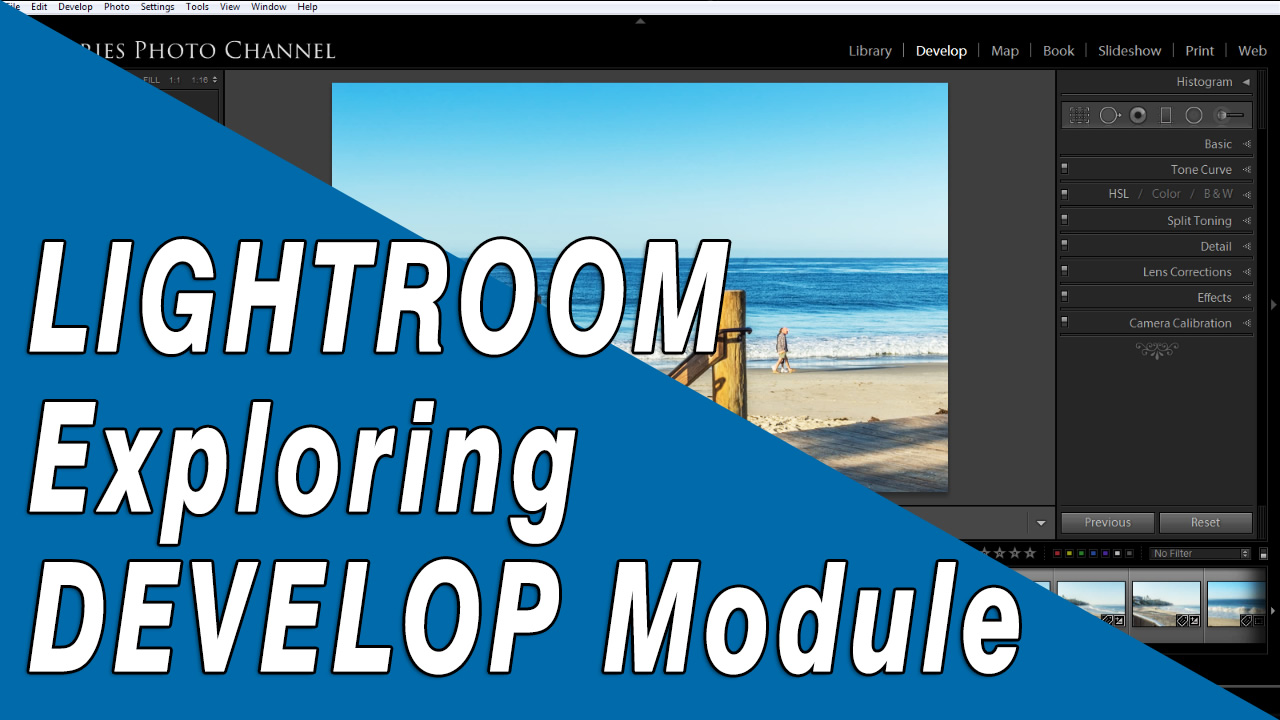
Develop Module Overview
A brief tour of the Develop Module interface. Learn some shortcuts for working with your images ...
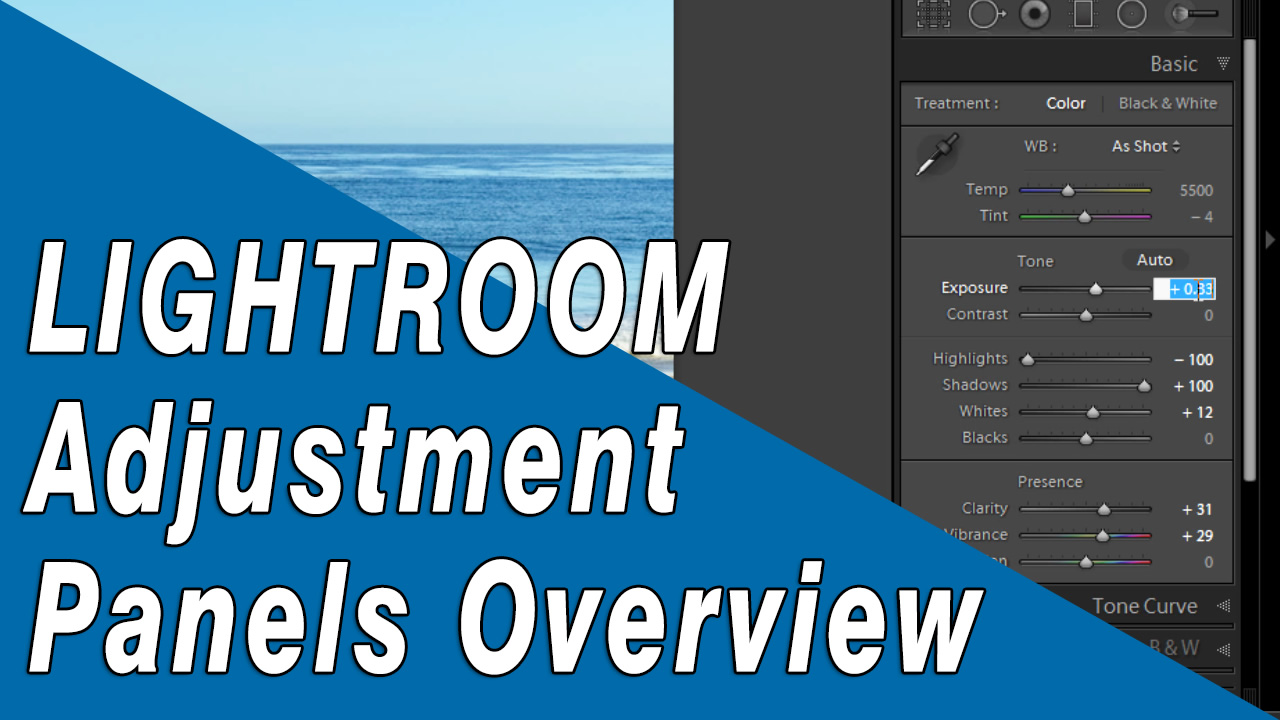
Explore the Adjustment Panels
Get an overview of what each Adjustment panel tool does ...
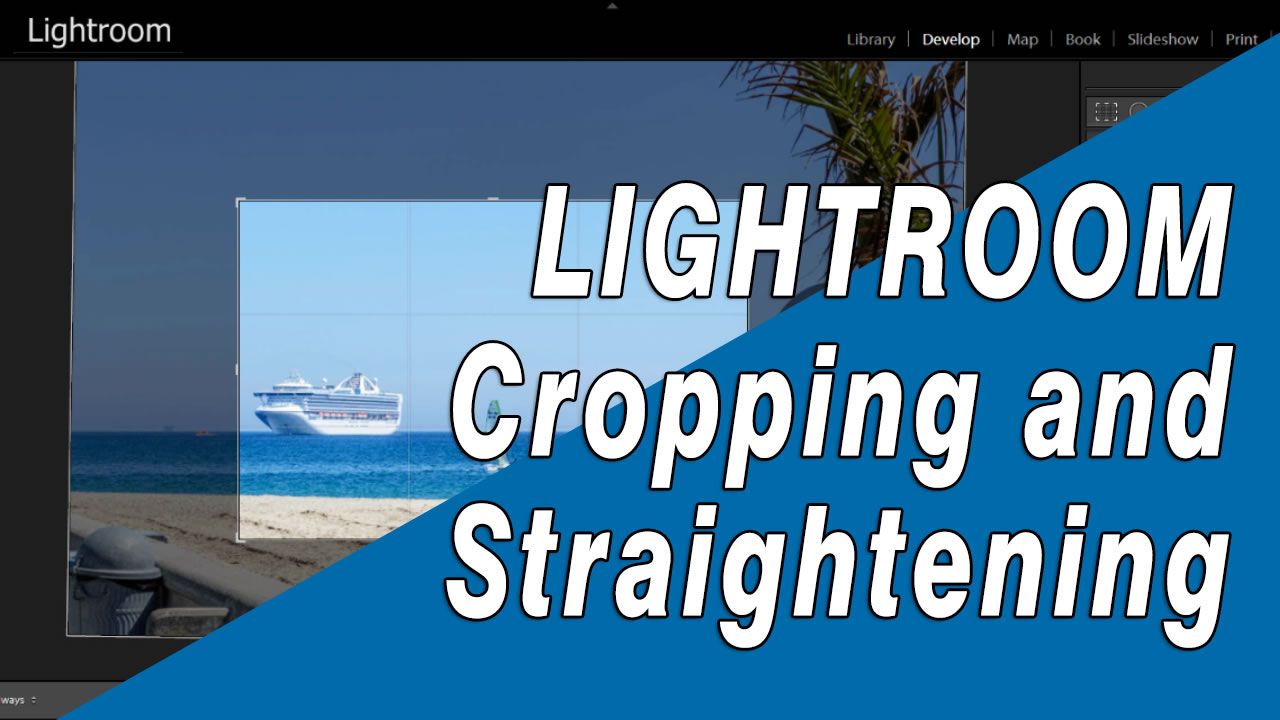
How to Crop & Straighten Your Images
All about cropping, grid overlays like the rule of thirds and straightening the horizon...
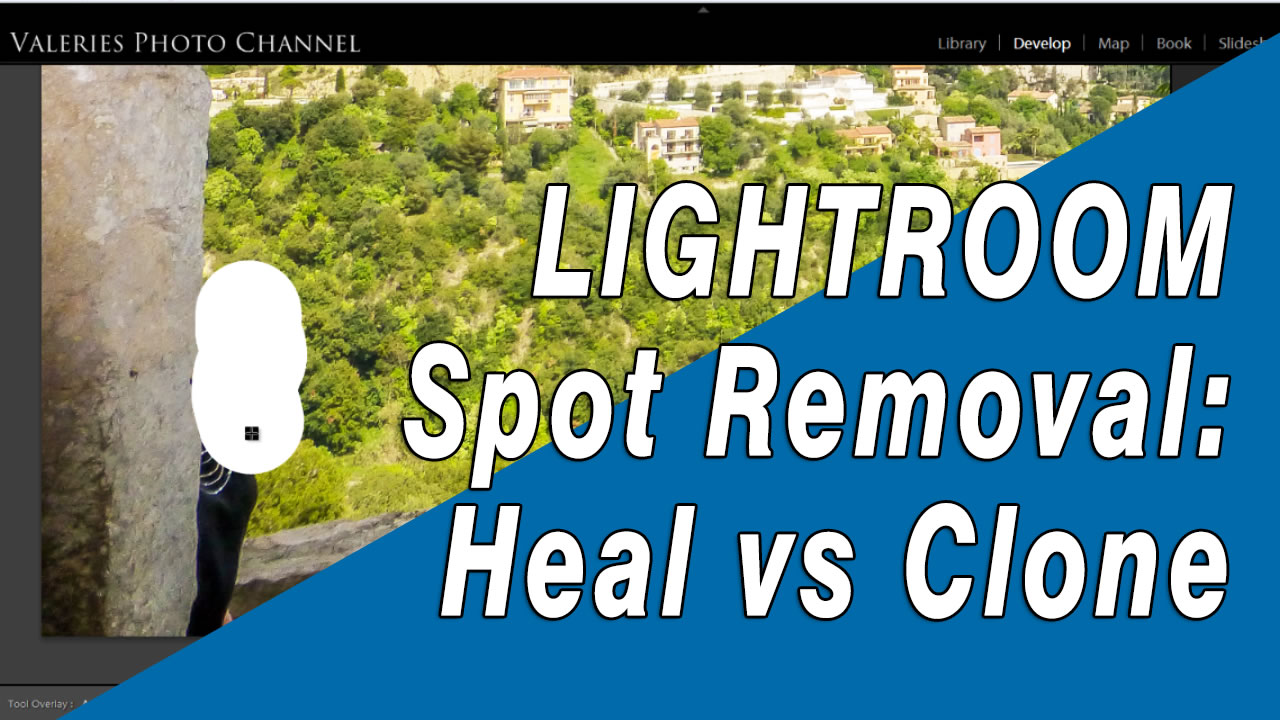
Spot Removal Tool - Cloning and Healing
Lightroom's Spot Removal tool has both a cloning and healing function. Learn how to heal blemishes, remove objects and ...
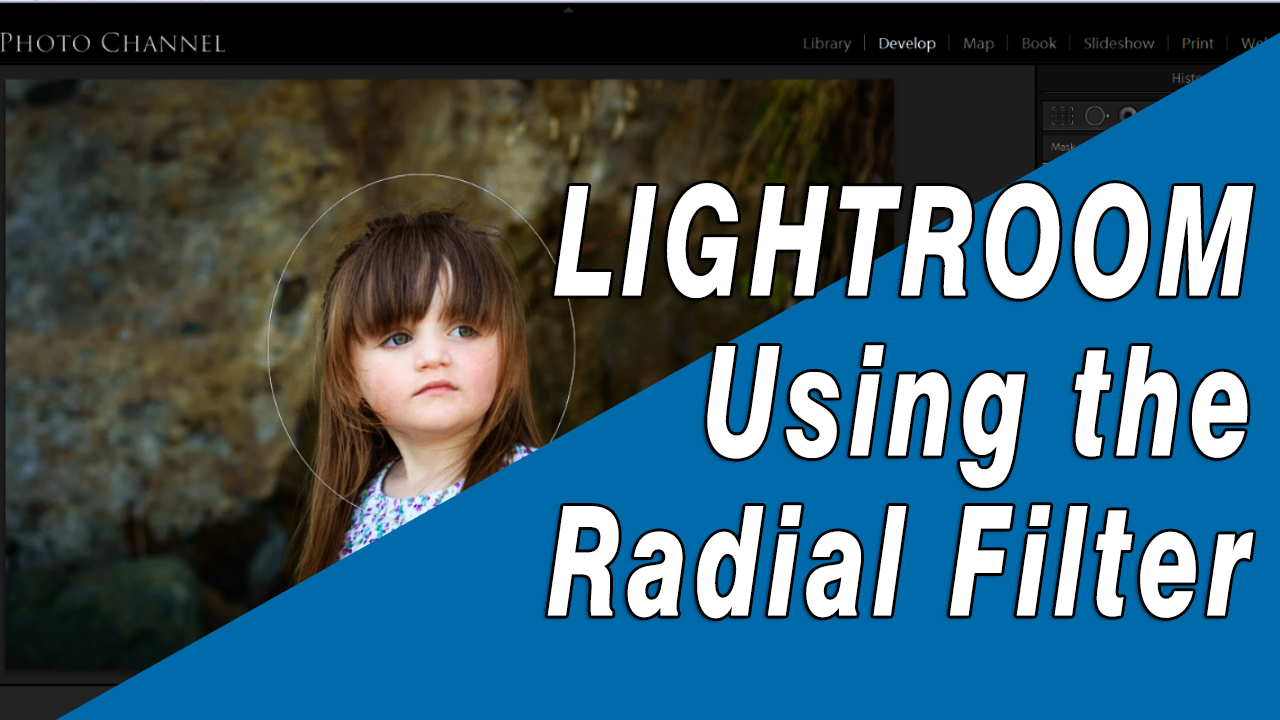
How to Use the Radial Filter
The Radial Filter is great for off-center vignetting or adding a subtle highlight to an area or multiple areas of your image. It offers you another way to adjust a selected part of your image ...
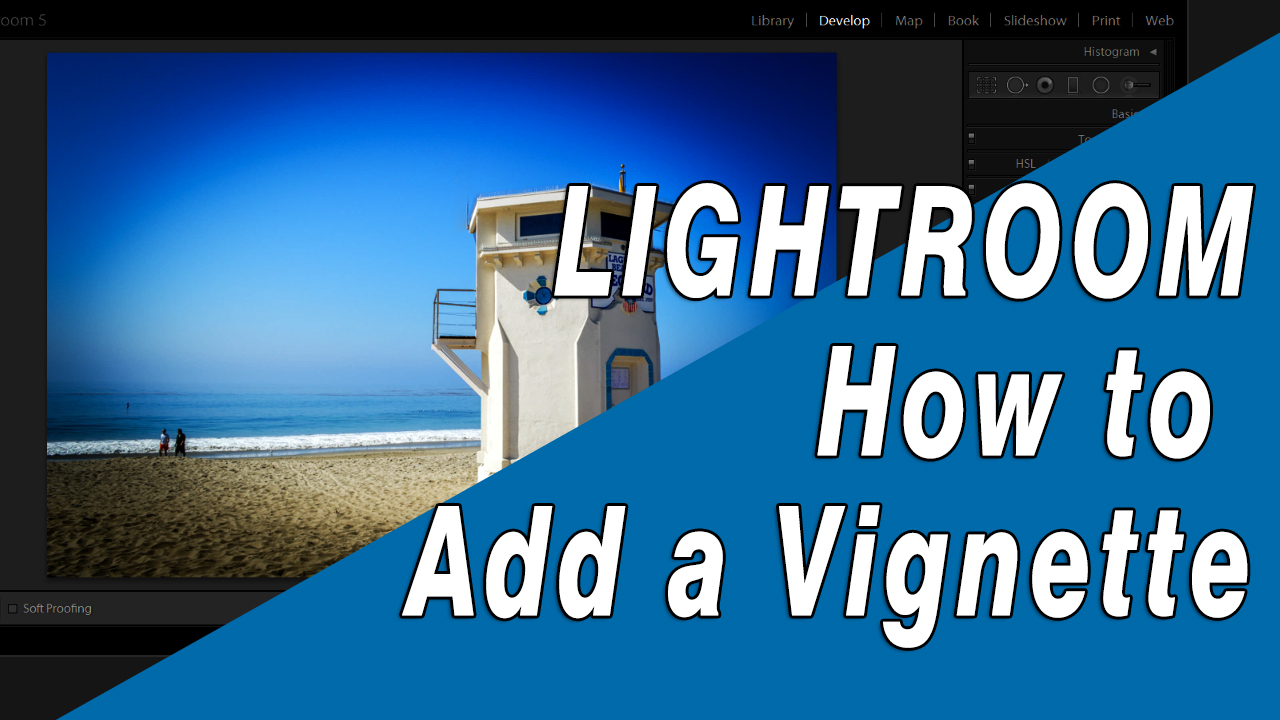
Learn How to Add a Post Crop Vignette
A vignette is a subtle darkening -- or lightening around the edges of your image and it's a popular way of adding a finishing touch to your photo.
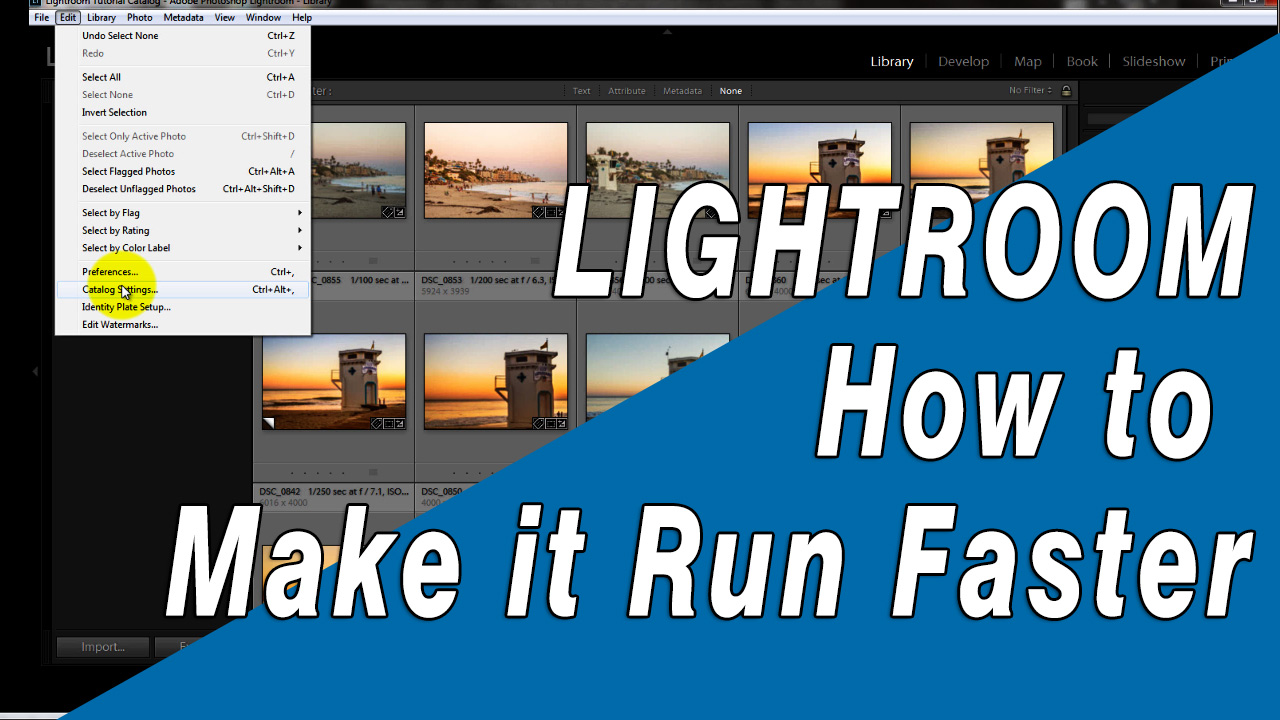
Making Lightroom Run Faster
If Lightroom starts to slow down and and seems to take forever to import images or load them in the Develop or Library modules, here are some tips to help make it run faster.
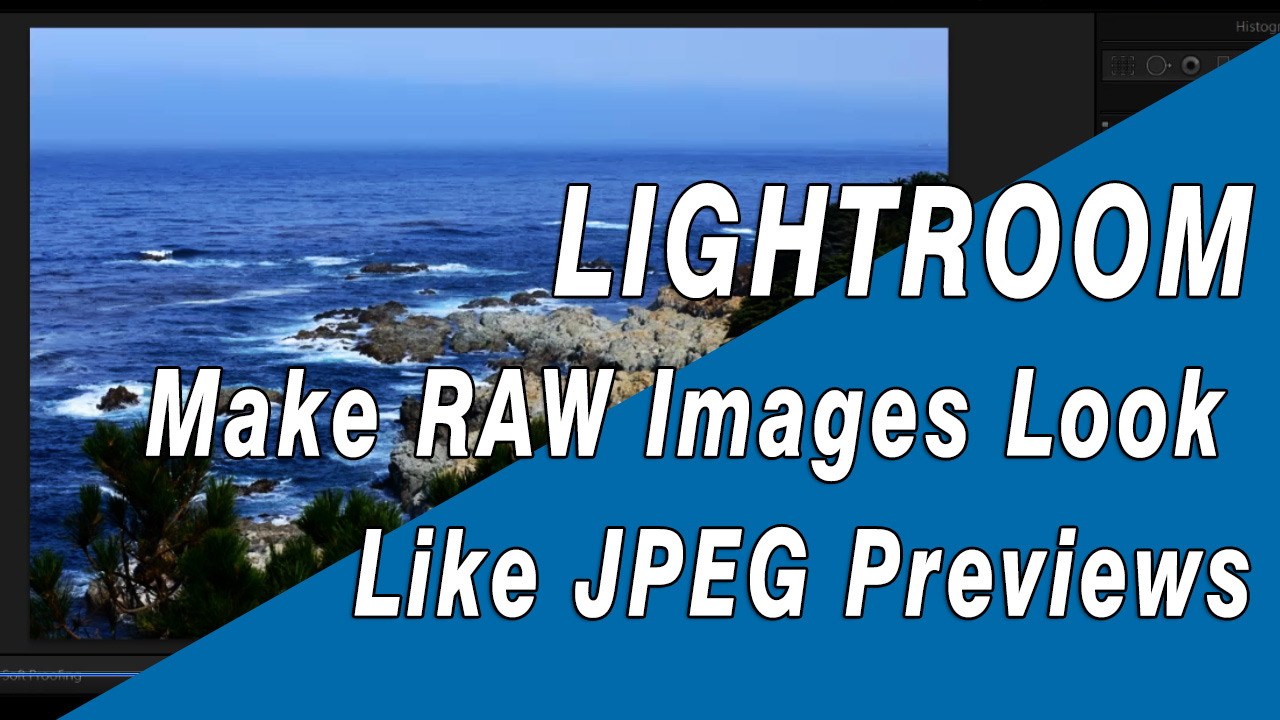
How to Make Raw Images Look More Like the JPEG Previews
You may think there's something wrong when your raw images look drab and muddy after you import them. Nothing's wrong, but you can make them look more like the JPEG previews you saw on the back of your camera.
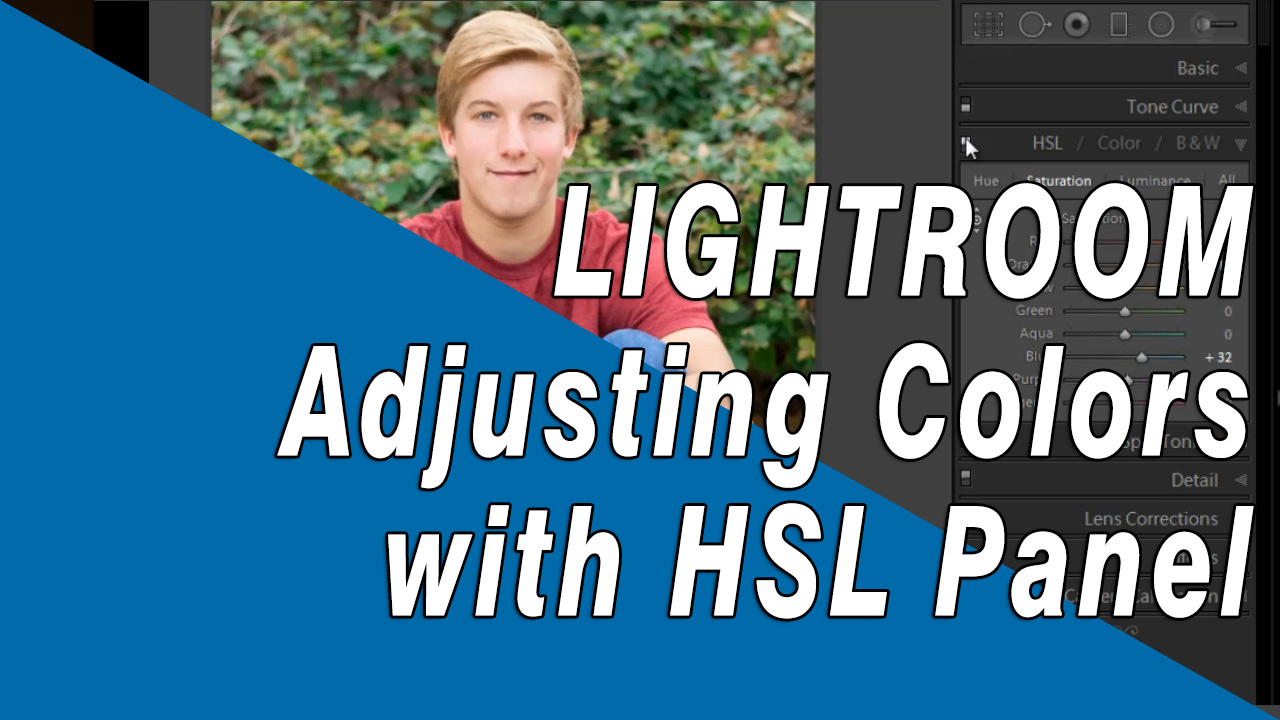
Changing Individual Colors with the HSL Panel
Lightroom gives you a lot of control over the individual colors in your image. Learn how to adjust the hue, saturation and luminance of specific colors instead of universal color changes to the whole image.
Using Visualize Spots to Find Sensor Dust
An easy way to see lens dust and dirt specs on your image so you can remove them with the Spot Healing tool.
Straightening a Tilted Horizon or Slanted Building
You can either use the Straightening Tool to level a horizon or the Upright Tool for more complex perspective correction
Working With Lightroom's History Panel
The History Panel list every fix you've made to your image since you imported it. The great thing about it, is that the whole history is always there, every step. Here are some tricks you can do with it.
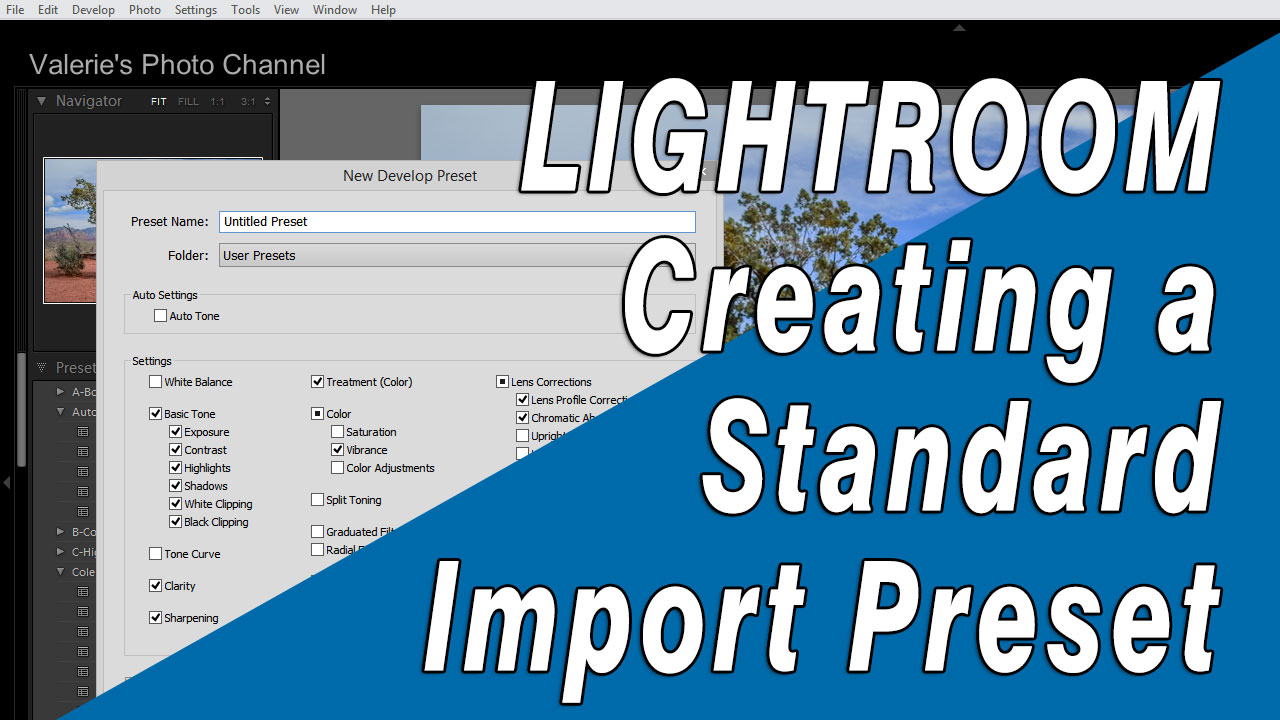
Creating an Import Preset
Learn how to create and save a preset that you can use when you import new images. This can be a big time-saver.
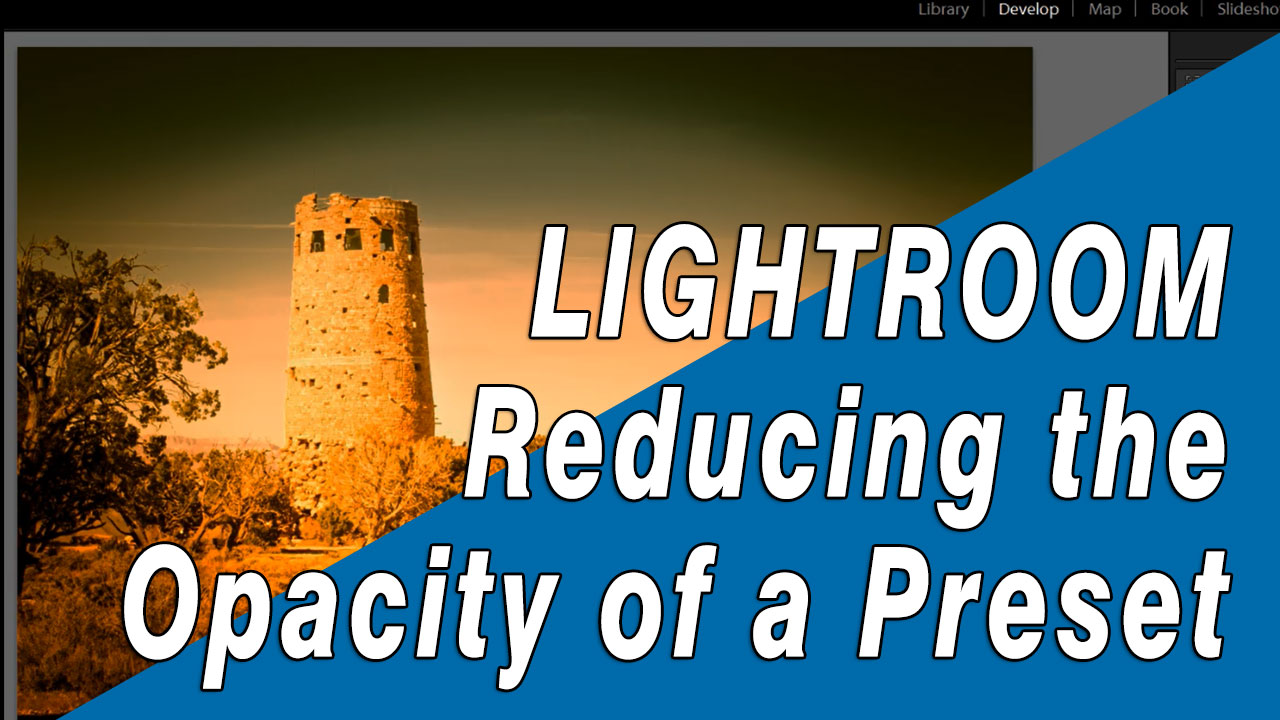
Fading a Preset
If you applied a preset and it just looks too strong, don't worry. In this video I'll show you how you can fade, or reduce the opacity of the preset.
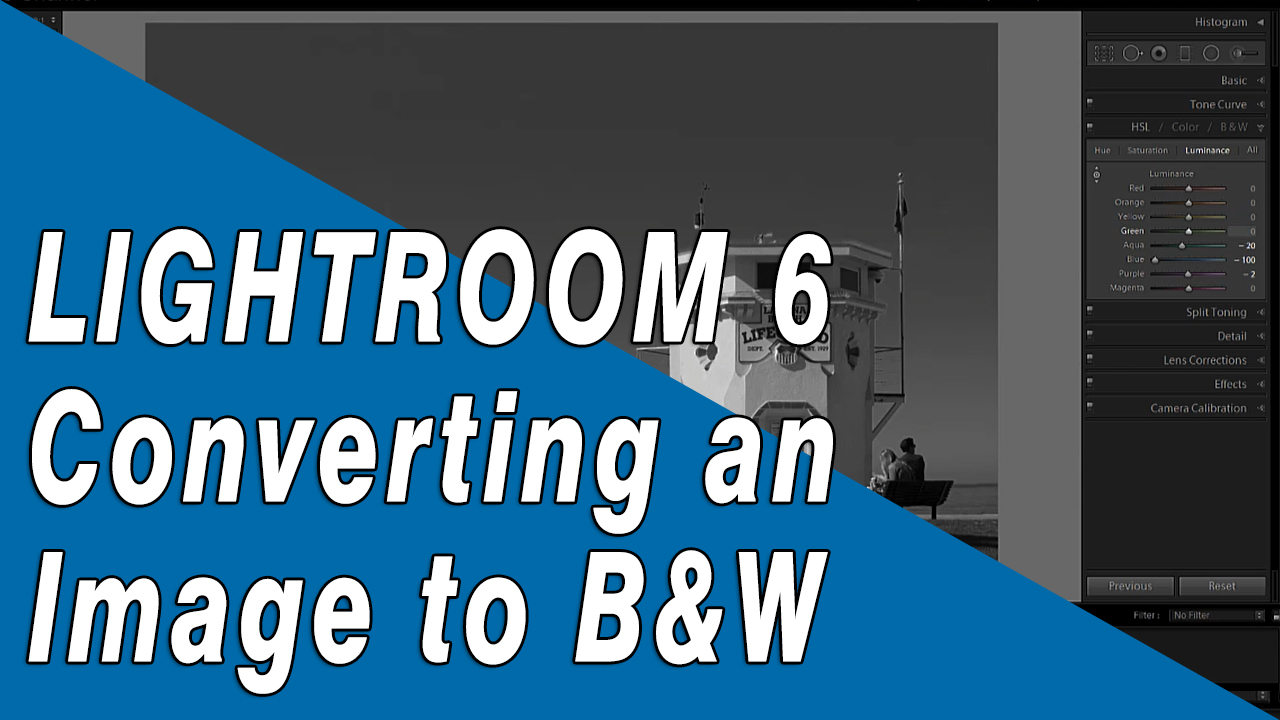
Black and White Conversion
In this tutorial I'll show you several ways you can convert your image to black and white
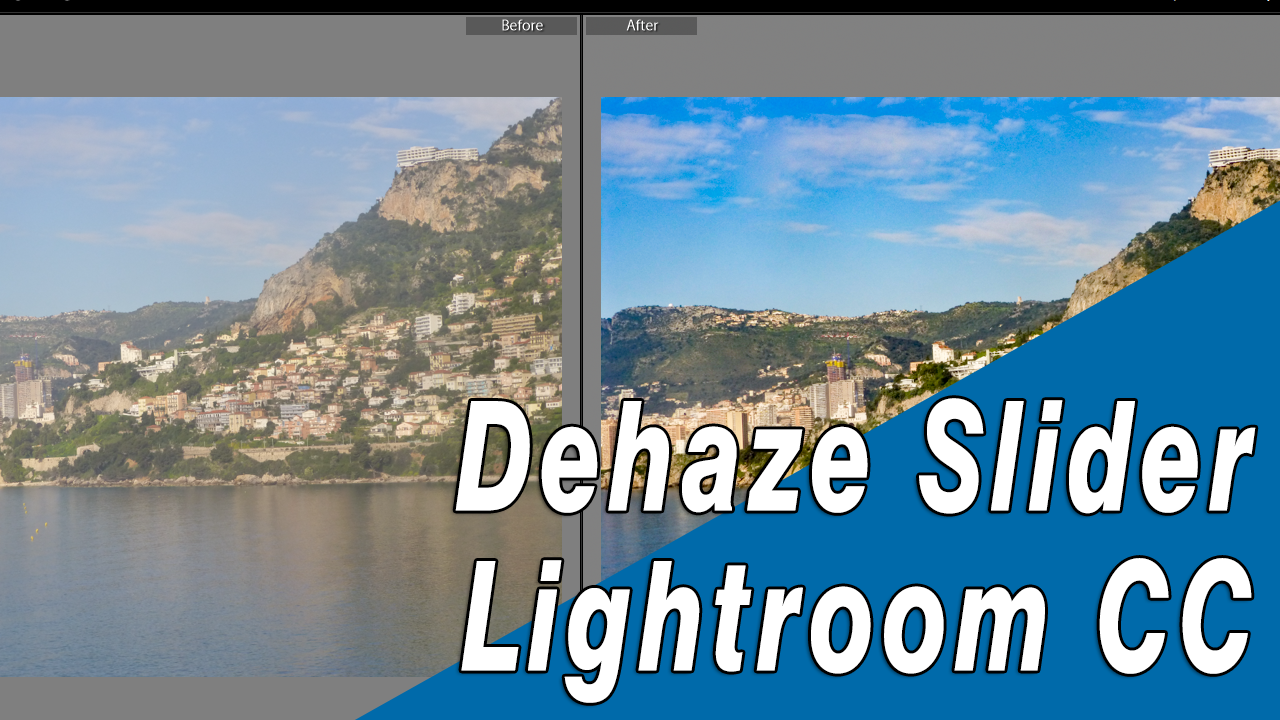
Using the Dehaze Slider
Removing haze, fog or flare is easy now, using the Dehaze slider in the Effects Panel. Get my tips in this tutorial.
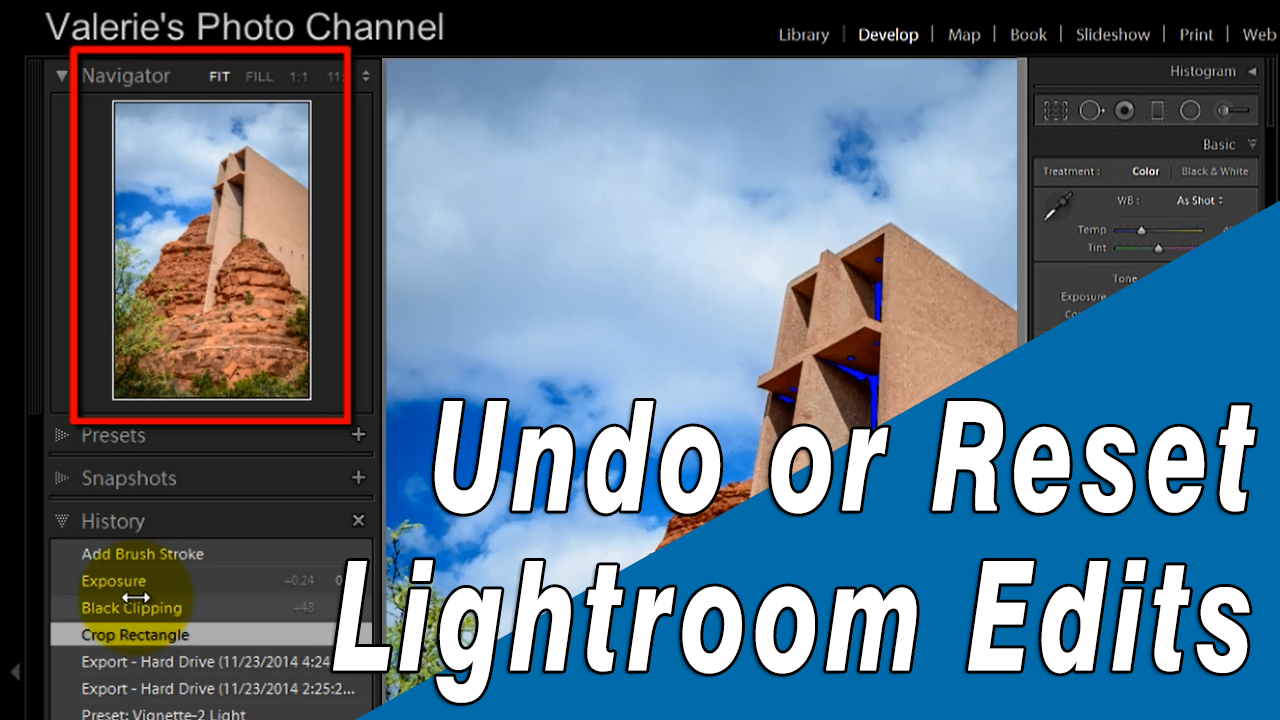
Undoing Your Edits with the History Panel & Reset Button
Lightroom gives you numerous ways to undo your adjustments in the Develop Panel. Here's how to undo any change at any time in your workflow.